Do you know Kim, of
The Darwin Exception? She is an exceptionally witty blogger and awesome knitter who has posted these wonderful photos of her sewing room and the ton of yarn and fabric she has in stock. She has quite a bit, but I think I've got her beat.
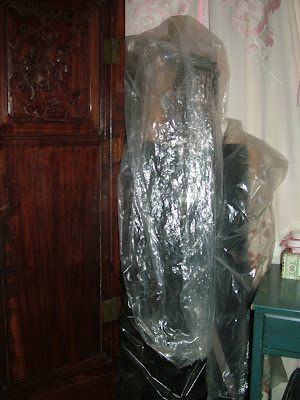
I've been longing to have my sewing room back. Our upstairs has been without walls or ceilings for over four years now. It's a real PITA to live in half a house and have your sewing projects strewn about virtually every room. And that's literally the case. My sewing table is in the living room and there are fabric bolts in the bedroom,

(That's a 60 yard roll of very soft polar fleece. And below are bolts of upholstery fabrics.)
cotton print bolts in my treatment room,

on the stairs,

miscellaneous stuff in the dining room . . .

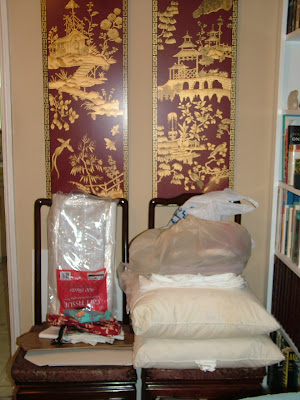
and that's just the stuff that I'm currently working with or plan to, soon. The only rooms that don't have any sewing items are the kitchen and the bathroom. There's also a mini Joann Fabrics store in my attic, and I still have about eleven crates of finished items in the still-in construction-stage sewing room.
When I first moved into this house about 11 years ago, I only used the second floor rooms for storage. Years later when I got married, we made the downstairs room I was sewing in into an office for the both of us and moved my sewing and cutting tables upstairs. But that presented me with a problem. The upstairs rooms did not have air conditioning. They were unusable during the 100+ temps in the summer and autumn months. So in late 2003, we debated the merits of several plans to air condition the upstairs and finally decided on installing a central air and heating system in this 67 year old house. We planned on doing all of the HVAC installation ourselves.
Although Mr. Sprocket is an HVAC service technician with about 20 years experience in the field, he specializes in service for large complex commercial spaces with one or more 100 ton units on the roof of tall office buildings. Most people don't know that HVAC
service is a specialized field. There are those who do installations (mostly grunt work) and there are those who finish a system install by starting up the system as well as service and troubleshoot complex systems. People who do installations rarely have the knowledge to do service and vice versa. This would be Mr. Sprocket's first residential install, with duct work and everything. Usually when he is involved in the install on a commercial building, it's at the end of the job when the unit is being craned onto the roof and he performs the system start up, which can take several days to do it properly.
In the first stages of planning this project, we were trying to think "where" we could put all my fabric and other stuff while we tore out the walls and ceilings in the upstairs rooms. I suggested putting a floor in our attic with a thin outdoor carpeting to make it easy to move around. Renting a storage space would have been a pain in the arse to have to go to, just to get my fabric. We had already spent months in our first floor attic installing insulation, rewiring the entire house and upgrading the electrical box to something that wouldn't be such a fire hazard. So installing a floor and lighting in there was like
, Wow, we should have done that sooner!
We started our HVAC project in May of 2004, and exactly two years later, the city signed off on the building permit, the electrical system upgrades we did ourselves as well as the new tankless water heating system, which was also installed on the roof. (That's a story for another day!) I now know how to properly wrap metal ductwork with insulation, since I wrapped virtually every metal duct box myself and the many branching "T-Y's" but I don't think this is a skill I'm going to be using anytime soon. It is almost two years since the system was installed, yet, there are no walls or ceilings upstairs and I'm still sewing in my living room.
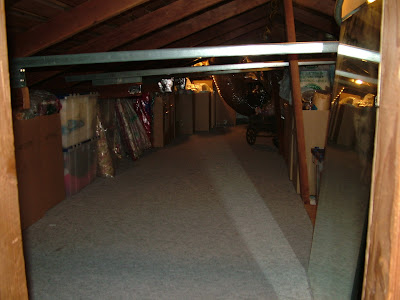
But back to that fabric store in my attic. Here is a photo of the main attic space soon after we finished the attic duct work and before we removed our tools and left over insulation:

As you can see, we raised the cross beams by replacing them with metal strut at a higher level so it would be easier to crawl around. Here are some photos I took today of the Joann Fabric Store in my attic. This first one is the entrance to the first floor attic. It's through a closet off the smaller second floor room.

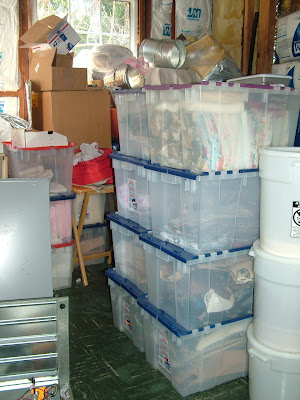
And here's a view of the attic as it looks now, just as you enter:
On the left near the entrance are boxes full of wilderness and western print bolts for the Buffalo store:
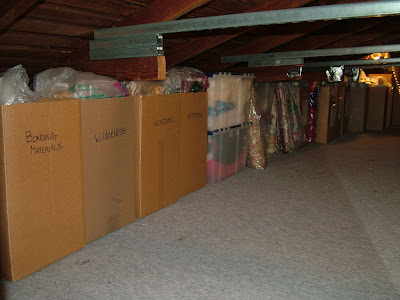
In the middle left, just beyond the two crates of eyelet, blackout material and scrap flannel, are my bolts of Asian prints. There is another row of boxes behind the ones you see in the photo.

And in the far left are eleven boxes of flannel bolts, all organized by type of print:

Off to the far right are about twelve crates of upholstery and tapestry fabrics as well as scrap panne:

On the right side of the attic near the entrance are six crates of small cotton pieces (2 yards or less) and Christmas fabrics. Farther down beyond the crates are four boxes filled with different colored bolts of panne and two boxes filled with rolls of the Asian silks.

One of these days I hope to have a finished sewing room, with special cabinets along several walls to hold all my cotton and flannel fabrics. Until then, I will have to keep my mini store in the attic!


